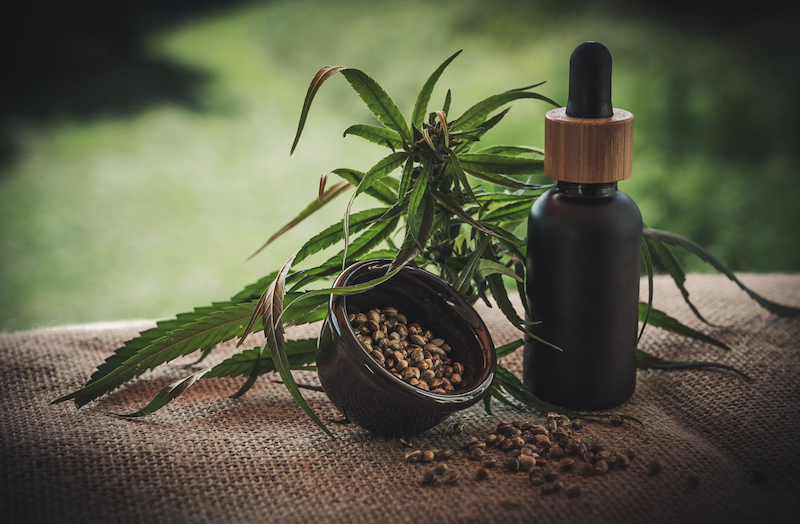
Growers, especially beginners, are always on the lookout for short growth cycles and easily cultivated plants – this has made autoflower seeds quite popular.
Compared to photoperiod plants, autoflowers do not depend on the alterations of the light cycle to start flowering, making them ideal for cultivation indoors and outdoors.
Visit https://www.frontiersin.org/journals/plant-science/articles/10.3389/fpls.2021.781988/full to learn more about photoperiods.
However, for a successful harvest, it is essential to adopt effective practices throughout the growth process. This article provides eight best practices for growing autoflower seeds, from selecting quality seeds to managing the flowering stage.
Choose Quality Autoflower Seeds
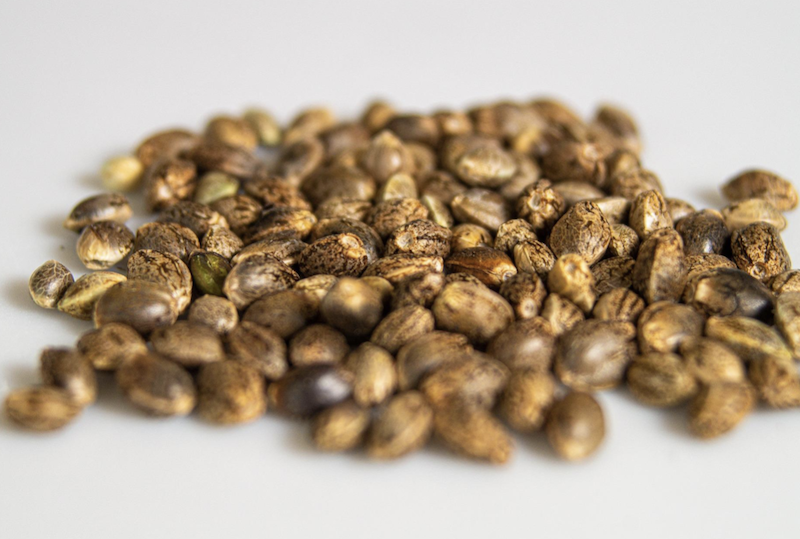
Begin by carefully selecting high-quality seeds from reputable breeders. Acquire the autoflower with the best cannabis seeds strains, firm and dark shells indicating viability and maturity. Also, avoid light seeds or those that seem damaged, as they may result in lower germination rates or even growth abnormalities.
Germination Process
Next, place the selected seeds in a glass of lukewarm water until they sink to the bottom (for approximately two days). Soaking helps in softening the seed coat, thereby starting the germination process. Transfer the seeds to a clean, damp towel or cloth.
Place the towel or rag in a warm, dark place, such as the cupboard. Regularly check it to ensure it remains moist. However, avoid over-soaking the seeds to prevent rotting.
Seedling Stage Care
When the seeds’ taproots sprout, they should be transplanted into small pots and provided with necessary resources, including water and light.
- Choose Appropriate Pots: Opt for planting pots with good drainage to avoid waterlogging, which could cause root rot. Ensure that the container is large enough to support the plant’s growth throughout its life cycle. Learn more about planting pots by visiting https://www.instructables.com/How-to-Choose-the-Right-Pot-or-Planter-for-a-Plant/
- Choose Nutrient-rich Soil: Also, use well-draining, nutrient-rich soil formulated explicitly for autoflower cultivation. Do not use heavy soils that might affect the root development. To improve aeration, add perlite to the soil.
- Provide Appropriate Water Amount: To prevent stunt growth and nutrient deficiencies, avoid overwatering. Water the soil strategically, allowing the soil to dry out slightly between waterings. Also, use a pH-balanced water source to prevent nutrient lockout from the plants.
- Maintain Optimal Temperature: Ensure the growing environment maintains temperatures between 70-85°F (21-29°C) during the day and a bit cooler at night.
- Provide Adequate Lighting: For optimal growth, it is essential to maximize light exposure of auto-flowering plants. They should have access to at least 18 hours of light every day. Place the plants by a sunny window to guarantee plenty of natural sunlight or get good LED growth lights. Click here to learn more about growing plants with grow lights.
Vegetative Stage
During the vegetative stage, focus on providing the plants with a balanced nutrient solution high in nitrogen to support vigorous leafy growth. Adopt organic fertilizers to improve the soil health and promote beneficial microbial activity. Remember to look closely for nutrient deficiency signs and check them immediately.
Flowering Stage Management
As the plants transform into the flowering stage, adjust their nutrient regimen to have higher phosphorus and potassium, thereby stimulating robust flower growth. Ensure to maintain a consistent light schedule of 12 hours followed by 12 hours of darkness to trigger flowering.
Training Techniques
Utilize low-stress training (LST) techniques, including tying down or gently bending branches to stimulate an even canopy and maximize light penetration. Adopt techniques such as defoliation or topping to increase airflow and manage plant growth.
Additionally, the plants should regularly be inspected for any signs of deficiencies, and the growing methods should be adjusted accordingly to achieve the desired shape and structure.
Visit https://lifehacker.com/how-to-train-your-plants-so-they-grow-better-1847244843 for more information on how to train your plants to grow better.
Harvesting and Drying Process
When most of the autoflower plants’ trichomes have turned milky white or amber, they are ready to be harvested. With a sharp pair of scissors, carefully cut off the larger fan leaves and any other excess foliage.
Store the trimmed branches in a cool, dark room to dry evenly and slowly. While in the room, ensure to monitor the humidity levels, maintaining a range of 45-55%.
Pest and Disease Prevention
When not properly controlled or eliminated, pests and diseases can cause great havoc to autoflower plants. Therefore, develop an effective pest management strategy by regularly inspecting the plants for signs of pests such as spider mites, aphids, or fungus gnats.
To naturally control the pest populations, introduce insects such as lacewings or ladybugs to the plants. Also, adopt organic pest control methods such as insecticidal soaps to get rid of infestations early and prevent spreading.
Click here to learn how to control and prevent pest infestations on your plants.
Final Words
Growing autoflower seeds can be satisfying, especially because of their growth ease. However, for proper maximization of yield and crop quality, follow the best practices outlined in this article. Ensure that the right seeds are chosen, that the seedlings are trained accordingly, and that the proper pest and disease maintenance strategies are adopted. Also, to harvest high-quality and bountiful buds, stay attentive and adjust the plants’ growth approach when necessary.


